
Last updated November 2, 2026
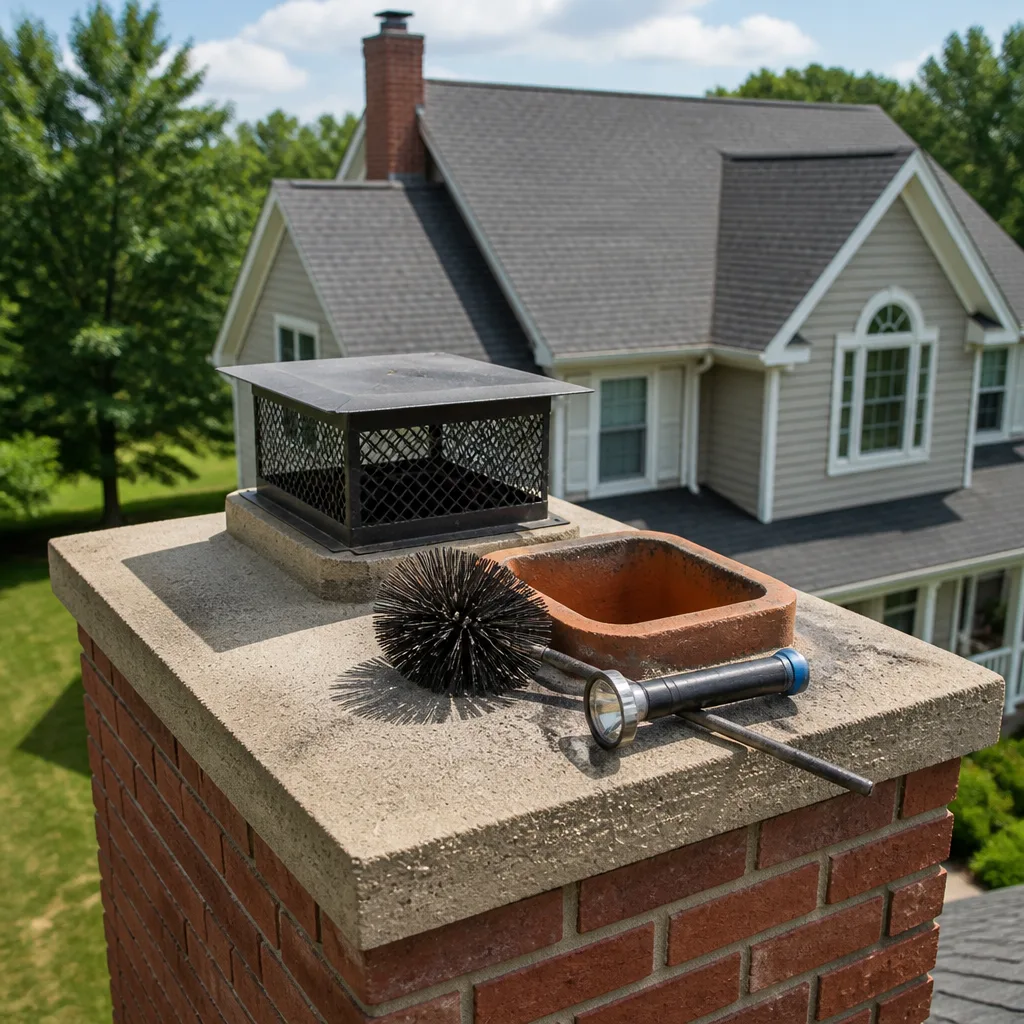 Sweep & inspection
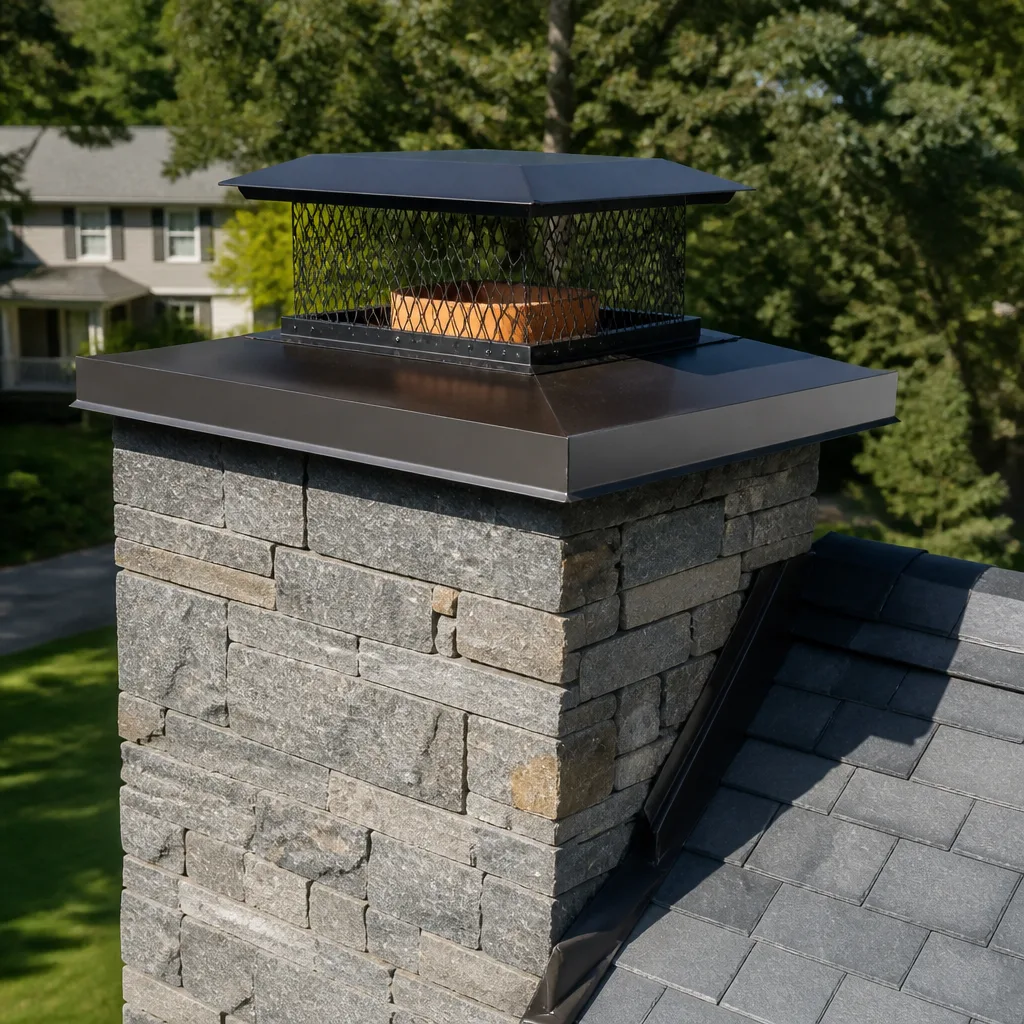 Caps & crowns
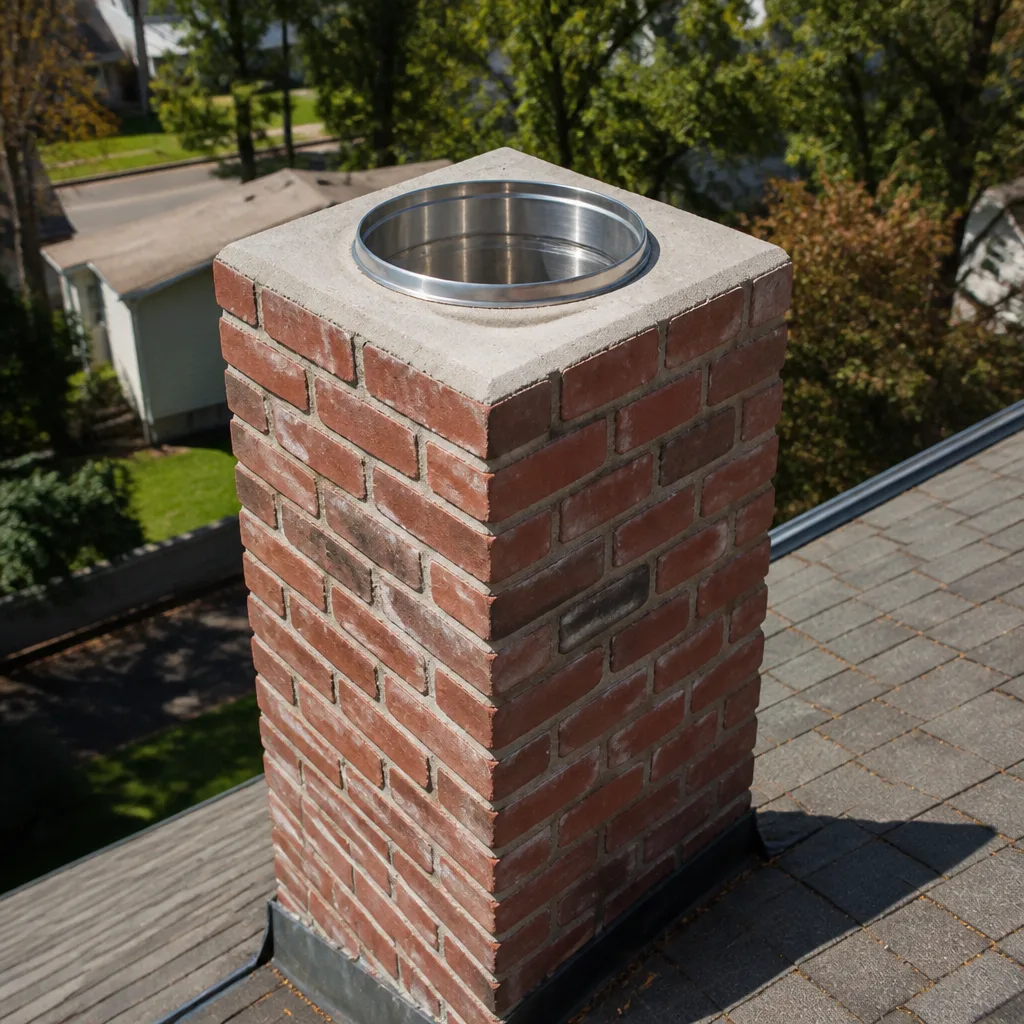 Flue relining
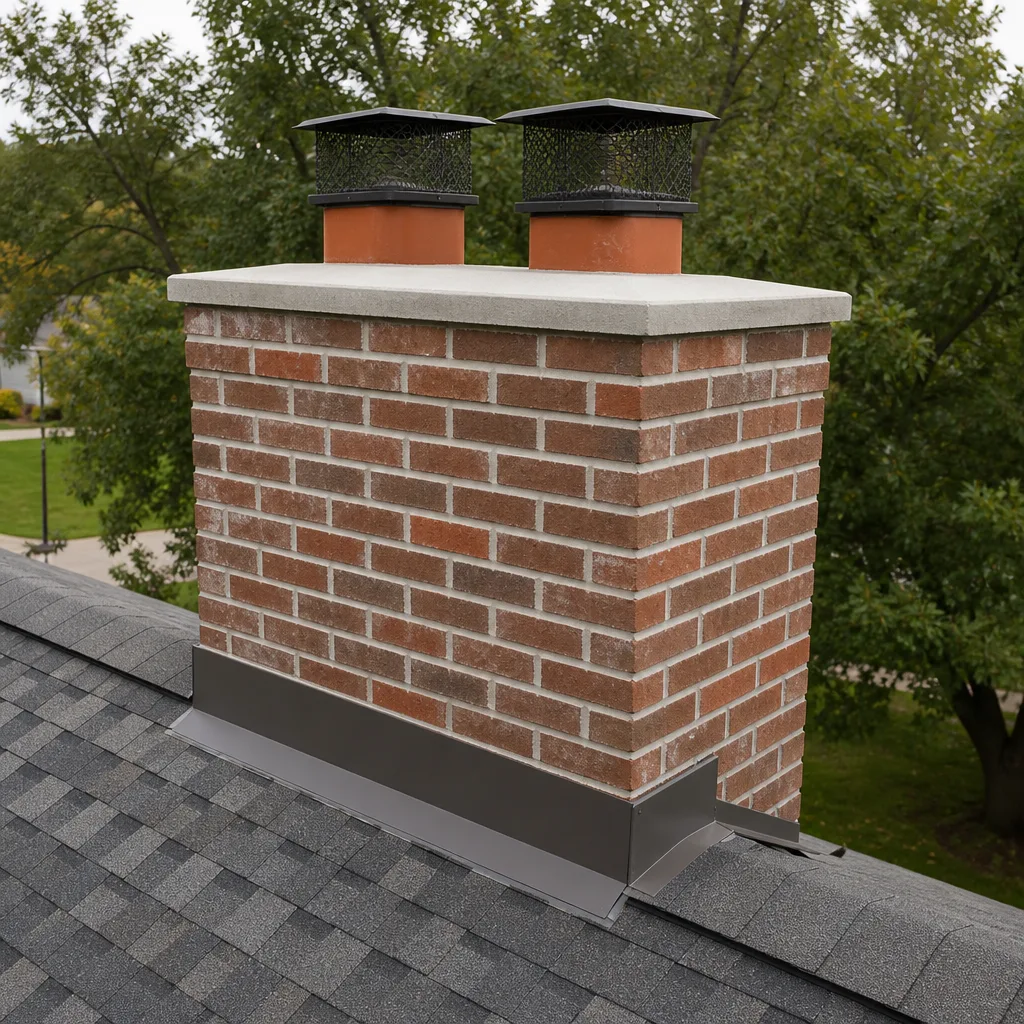 Masonry repair
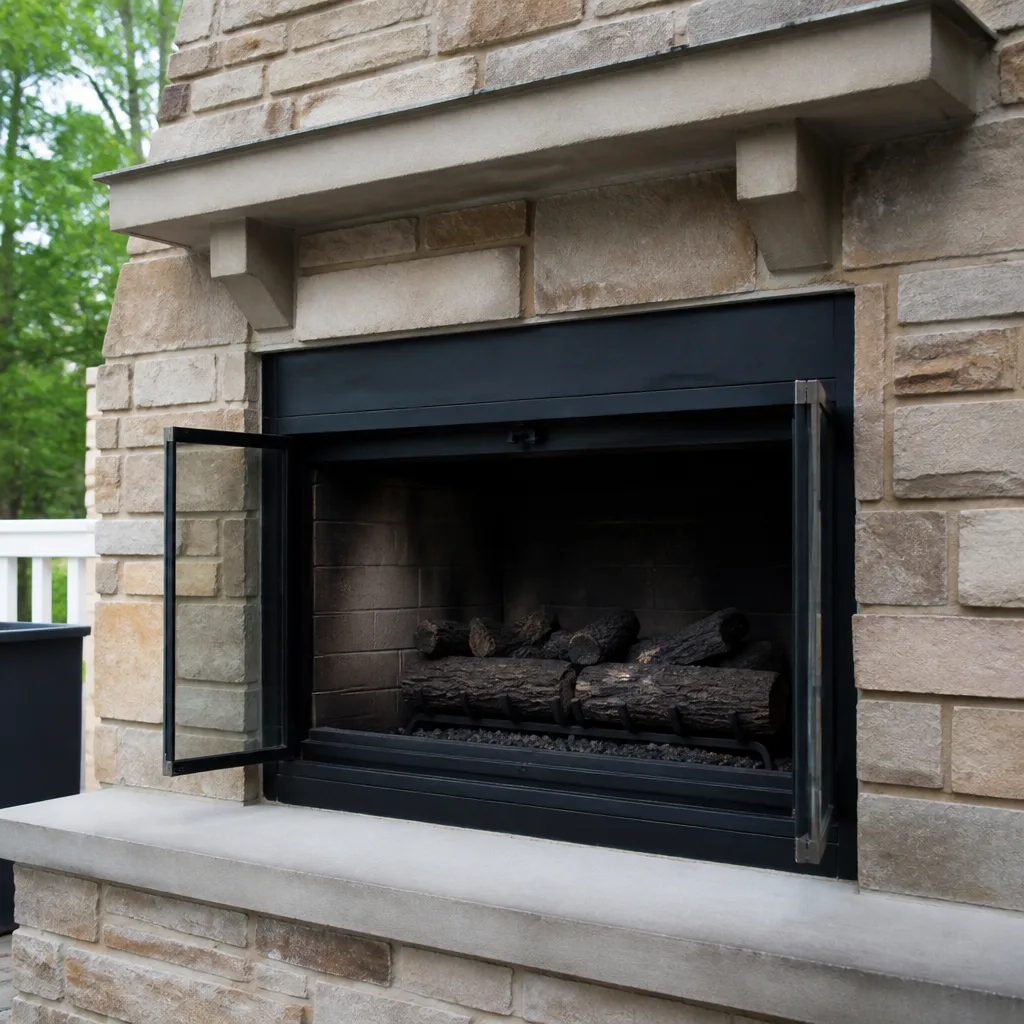 Gas fireplace service
Level 1 sweep and inspection to the NFPA 211 annual standard - flue, crown, cap, and flashing checked and photographed
Chimney sweep logs do not sweep chimneys. They loosen some creosote - which then falls where a brush and vacuum still have to collect it.
Chimney Sweep Maintenance Checklist for San Jose Homeowners
The most dangerous item on most homeowners’ chimney checklists is the one that isn’t there: the dryer vent. In San Jose’s Blossom Valley neighborhoods, where attached-garage homes often push dryers to exterior walls with 20 to 35 feet of ductwork, lint accumulation causes more house fires than the fireplace itself. Our Chimney Sweep services and this guide give you a tiered maintenance checklist built around how San Jose homes actually burn wood – short seasons, mild winters, and long stretches of inactivity that let creosote harden and animals move in. You’ll learn what to inspect from inside your living room, what requires a camera, and how to document your chimney’s condition so you’re tracking deterioration trends, not just reacting to visible problems.
Styles & brands we work with
- Sweep & inspection
- Caps & crowns
- Flue relining
- Masonry repair
- Gas fireplace service
Quick Answer
The chimney maintenance checklist for San Jose homeowners splits into four tiers: monthly visual checks of the firebox and exterior cap, pre-season inspections every October before burning ramps up, an annual professional sweep and camera inspection, and dryer vent cleaning every 12 to 18 months depending on duct length. We recommend documenting your chimney’s baseline condition with photos and a sweep log, because San Jose’s burn window is short enough that problems often develop during months of disuse rather than during active burning. The single most overlooked item on every checklist is the dryer vent, which in many San Jose homes presents a greater statistical fire risk than the fireplace. For more guidance, see our Chimney Sweep Troubleshooting: Common Problems and How to Fix Them.
Table of Contents
- Why San Jose Chimneys Fail Differently
- Tier 1: Monthly Checks You Can Do From Inside
- Tier 2: Pre-Season Inspection in October
- Understanding Creosote Stages: What You’re Actually Looking At
- Tier 3: Annual Professional Sweep and Camera Inspection
- The Dryer Vent Step Every Checklist Omits
- Documenting Your Baseline: Tracking Deterioration Year Over Year
- Scheduling Around San Jose’s Burn Window
- Common Mistakes to Avoid
- When to Call a Professional
- Frequently Asked Questions
- The Bottom Line
Why San Jose Chimneys Fail Differently
San Jose’s climate creates a specific set of chimney problems that generic maintenance advice from national publications simply doesn’t address. The city sits in a Mediterranean climate zone with very low humidity in summer and fall, which means creosote that forms during the burn season dries into a hard, glassy glaze rather than remaining soft and brushable. This happens faster when homeowners burn unseasoned wood, and in San Jose, the urban-adjacent tree canopy means a lot of homeowners burn wood from trees they’ve had trimmed or removed, often on a one-year rather than two-year seasoning cycle. Wood needs moisture content below 20 percent to burn cleanly, and most freshly cut Bay Area hardwoods won’t reach that threshold in our mild climate without careful storage. See our guide on Choosing the Right Chimney Cleaning Brand: A Buyer’s Guide for San Jose for equipment recommendations.
We’ve inspected homes in Blossom Valley and Willow Glen where the chimney was swept in March, sat unused through San Jose’s dry summer, and by October showed hairline cracks at the crown that would have been invisible without a camera. The soil here also matters: much of San Jose sits on expansive clay that shifts with winter rains, and that movement shows up as micro-cracks in masonry chimneys that predate the 1980s. Homes built during the Eichler and post-Eichler boom often have chimneys that were never properly flashed to begin with. The Chimney Sweep in Blossom Valley issue we see repeatedly is water intrusion through these small openings, which accelerates liner deterioration even when the fireplace isn’t in use.
Understanding this pattern changes how you should approach maintenance. You’re not just cleaning up after last year’s fires. You’re preparing a system that has been sitting dormant through months of heat and drying, checking whether that dormancy caused new problems, and then preparing it for another season of thermal cycling.
Tier 1: Monthly Checks You Can Do From Inside
These checks take about five minutes and don’t require any tools beyond a flashlight. The point is to establish a visual baseline so that when something changes, you catch it early enough to act before damage compounds. If you have a gas fireplace, skip the creosote checks and focus on the vent termination and damper position instead.
- Look up into the flue with a bright flashlight. You’re checking for any obstruction that wasn’t there last month: bird nesting material, leaves, or an animal. In San Jose, we see squirrels and raccoons attempt entry through missing caps or damaged chase tops in spring and early fall. If you see nesting material, do not try to smoke it out or remove it with a chimney brush. Call a professional – some nests are active, and disturbing them inside a confined flue is dangerous.
- Check the firebox floor and walls. Look for a fine accumulation of black dust, which is normal after burning. Now look for a glassy, tar-like sheen on the firebrick. That’s stage-2 or stage-3 creosote (more on that below), and it’s the difference between a simple sweep and a chemical treatment or liner work.
- Operate the damper fully open and fully closed. You’re listening for grinding or catching that suggests warping. A damper that doesn’t seat fully lets conditioned air escape year-round, and in San Jose’s summer heat, that’s real money. If your damper is in the throat of the fireplace, you should be able to see daylight past it when fully open.
- Check the smoke chamber walls. This is the angled section between the damper and the flue itself, and it’s one of the most overlooked areas in chimney maintenance. Smoke chambers in San Jose homes built before the 1980s often have corbeled brick with exposed mortar joints, and creosote builds up there even when the flue looks fine from below. A flashlight held at an angle will show you whether the surface looks smooth or rough and caked.
- Test for airflow. Open the damper completely, then hold a lit incense stick or a long match just inside the firebox opening. The smoke should pull upward clearly. If it drifts back into the room or just hangs, you have a draft problem, and that needs real diagnosis before you light a fire. In San Jose’s mild autumns, draft is often weaker than homeowners expect, and a fireplace that drafts poorly in October is not going to fix itself by December.
None of these checks replaces a professional inspection. They’re your early warning system, and the more regularly you do them, the better you’ll be at spotting when something is actually getting worse versus just being dirty. If you’ve never had your chimney inspected at all, the Chimney Sweep Blossom Valley home team can help you establish a baseline before you start tracking changes on your own.
Tier 2: Pre-Season Inspection in October
October is the month that matters in San Jose. It’s before the first cold snap, after the long dry stretch, and it’s when we see the highest call volume from homeowners who waited until they actually wanted a fire and then discovered a problem. Plan to do this inspection in the first two weeks of October, regardless of when your last sweep was.
Grab a ladder only if you’re comfortable on one. If you’re not comfortable climbing to the roofline, skip the exterior checks and have them done as part of your annual sweep. A fall from a roofline is far more dangerous than any chimney problem.
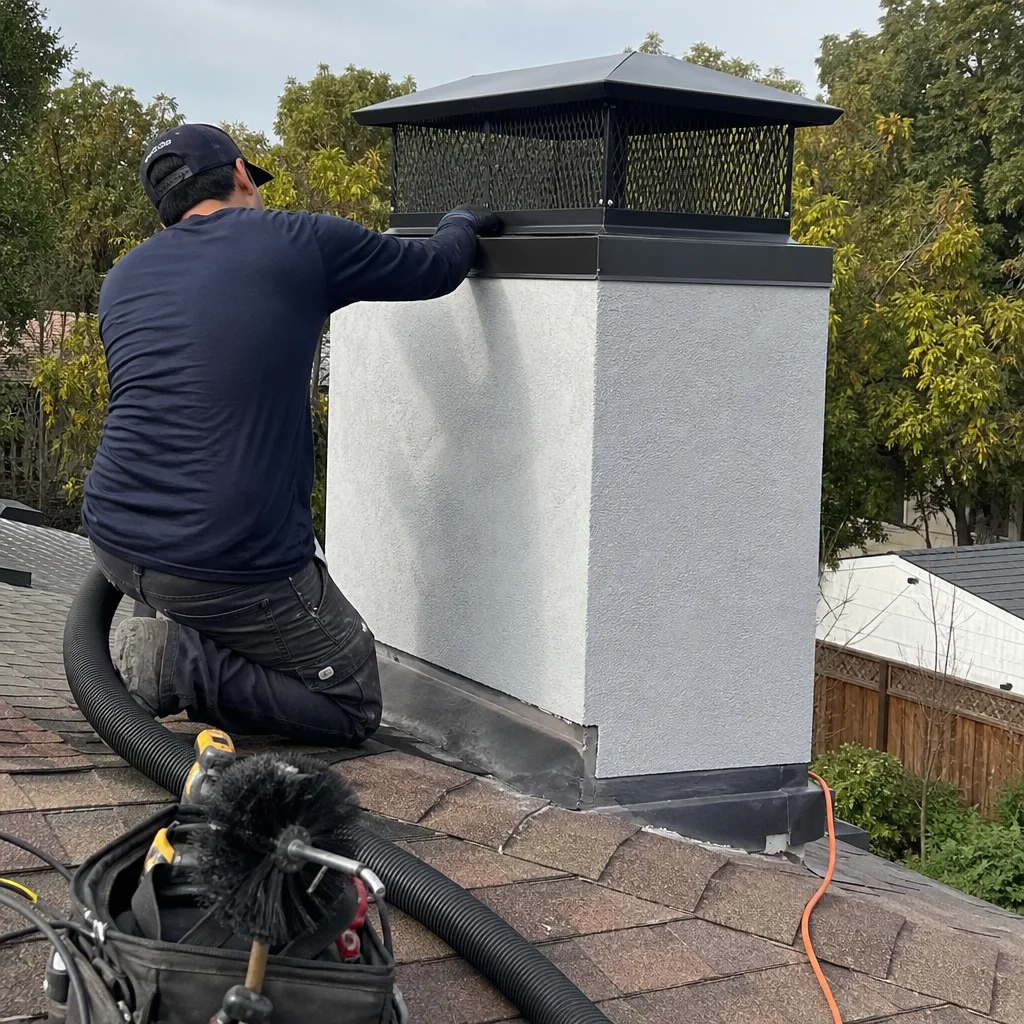
- Inspect the chimney cap or rain pan. From the ground, look for the mesh spark arrestor. Is it intact? If you can see from the ladder, check for rust-through around the perimeter and for mesh that’s coming unseated. In San Jose, the real culprit is wind: our autumn wind events carry pine debris and particulate that can clog mesh and reduce draft. A cap that’s partially clogged is a safety issue, but a cap that’s missing entirely invites everything from rain to raccoons.
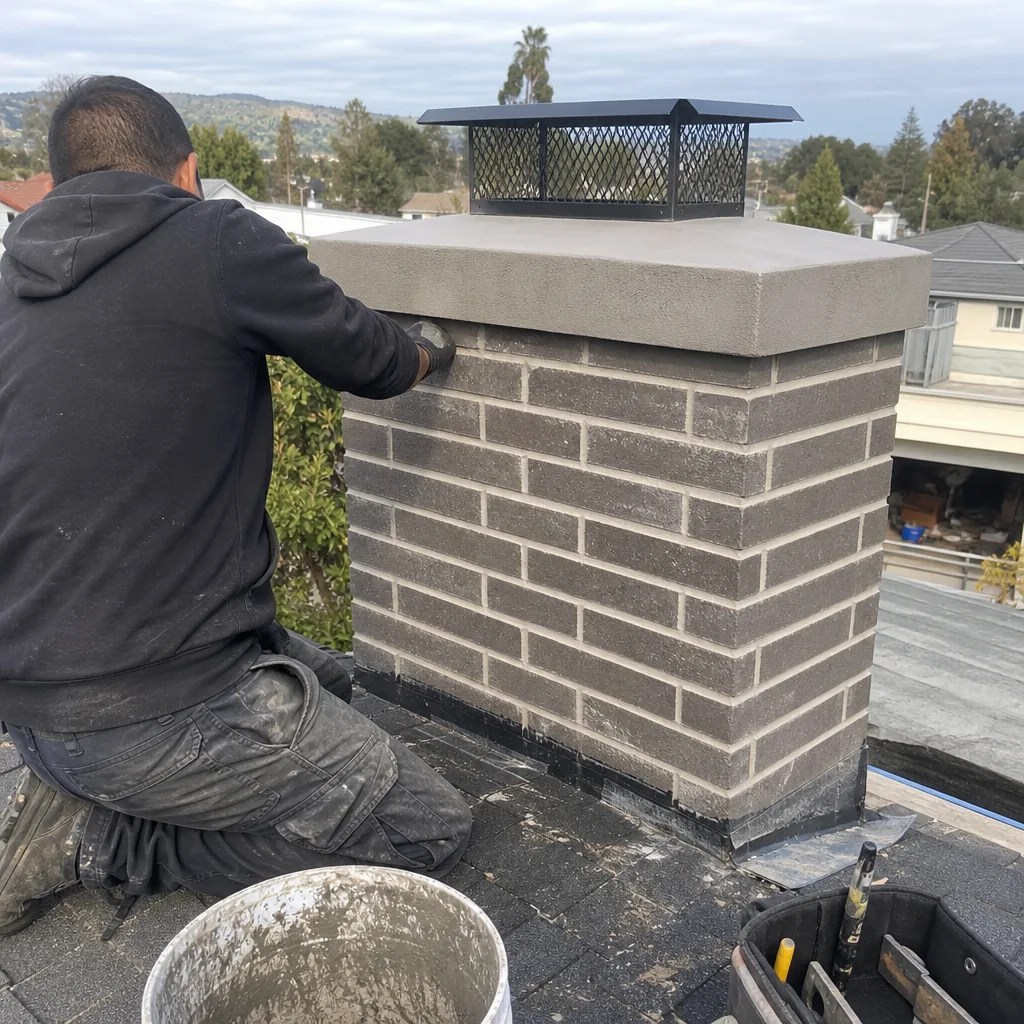
- Look at the crown. The crown is the concrete surface that caps the top of a masonry chimney. Look for hairline cracks, spalling (surface concrete flaking off), or areas where the concrete has eroded and exposed the brick below. San Jose’s hot, dry summers are hard on crowns, and a cracked crown lets water penetrate down into the chimney structure year-round, not just when it rains.
- Check the flashing. Flashing is the metal that seals the joint where the chimney exits the roof. Look for lifted edges, missing caulk, and areas where the flashing has pulled away from the masonry. Most flashing in San Jose homes is original to the house, and after two or three decades of thermal cycling, it’s failed. Water intrusion through flashing is the single most common source of hidden chimney damage we see, and it usually shows up first as water staining on the ceiling near the fireplace, not as an obvious chimney problem.
- Look at the roof surface around the chimney. If you see granules from composition shingles collecting in the roof valleys near the chimney, or staining on the roof deck visible from the gutter line, water is already moving where it shouldn’t be.
- Test the fireplace draft again with incense or a match. The October draft check matters more than any other month because air temperature and pressure conditions change between summer and winter. A fireplace that drafts fine in August may be sluggish in October, and October conditions are closer to what you’ll actually burn in.
Document everything with photos, even if you don’t see problems. Those October photos become your baseline for next year’s comparison.
Understanding Creosote Stages: What You’re Actually Looking At
Homeowners often ask us what creosote “looks like,” and the answer depends on which stage of creosote you’re seeing. Your maintenance decisions depend on identifying the stage correctly, because stage-1 creosote comes off with a brush, and stage-3 creosote often requires chemical treatment or resurfacing.
Stage 1: Soft, Sooty Dust
This is the material you can partially see with a flashlight: a fine, powdery, dark gray or brown film on the firebrick and the visible flue walls. It brushes off easily and doesn’t clump. Stage-1 creosote is normal and expected after burning, especially if you’re burning oak or almond, which are common firewood species in the San Jose area. A standard sweep removes this without much effort. If this is what you’re seeing, your maintenance program is working.
Stage 2: Crunchy, Flaky Deposits
Stage-2 creosote looks like dark cornflakes or chunky soot. It accumulates when the firebox or the flue doesn’t reach and maintain a consistent high temperature, which happens when you burn wet wood, run the fireplace at low heat for long periods, or have draft problems that keep smoke cooling too quickly. In San Jose, stage-2 creosote often shows up in fireplaces that are used infrequently but with poor draft, or in homes where the damper is left partially closed during burning. Stage-2 can often be removed with rotary tools, but a standard flat brush may not get it all. If you’re seeing stage-2 material in the firebox, plan for a more thorough sweep than a basic cleaning.
Stage 3: Glazed, Tar-Like Coating
Stage-3 creosote is the glaze. It looks like shiny black glass or hardened tar, and it forms when creosote layers build up and carbonize under heat. It’s highly flammable, it’s extremely hard to remove with brushes, and it indicates that the chimney has been running dangerously hot or inefficiently for some time. Stage-3 creosote in a San Jose home is often the result of burning unseasoned wood from tree trimmings for multiple seasons, or from a chimney that was never fully cleaned in the first place. Removing stage-3 creosote often requires chemical treatment, and if the underlying liner is damaged underneath, you may need resurfacing with a system like HeatShield rather than a simple cleaning.
The takeaway here: if you know what stage you’re seeing, you can have an intelligent conversation with your chimney professional instead of just being told “you need a cleaning.” And you’ll know whether the quote you get is for a basic sweep or for actual liner work.
Tier 3: Annual Professional Sweep and Camera Inspection
The National Fire Protection Association recommends a professional inspection at least once a year, and a sweep whenever creosote is 1/8 inch thick or more. In San Jose, with the short burn season and dry summers, an annual sweep in late September or early October covers you for the full burn window, and it catches the animal intrusion and weather damage that tends to happen between April and September when the fireplace is dark.
A professional sweep from a specialist should include more than just running a brush up the flue. Here’s what a complete annual service actually looks like:
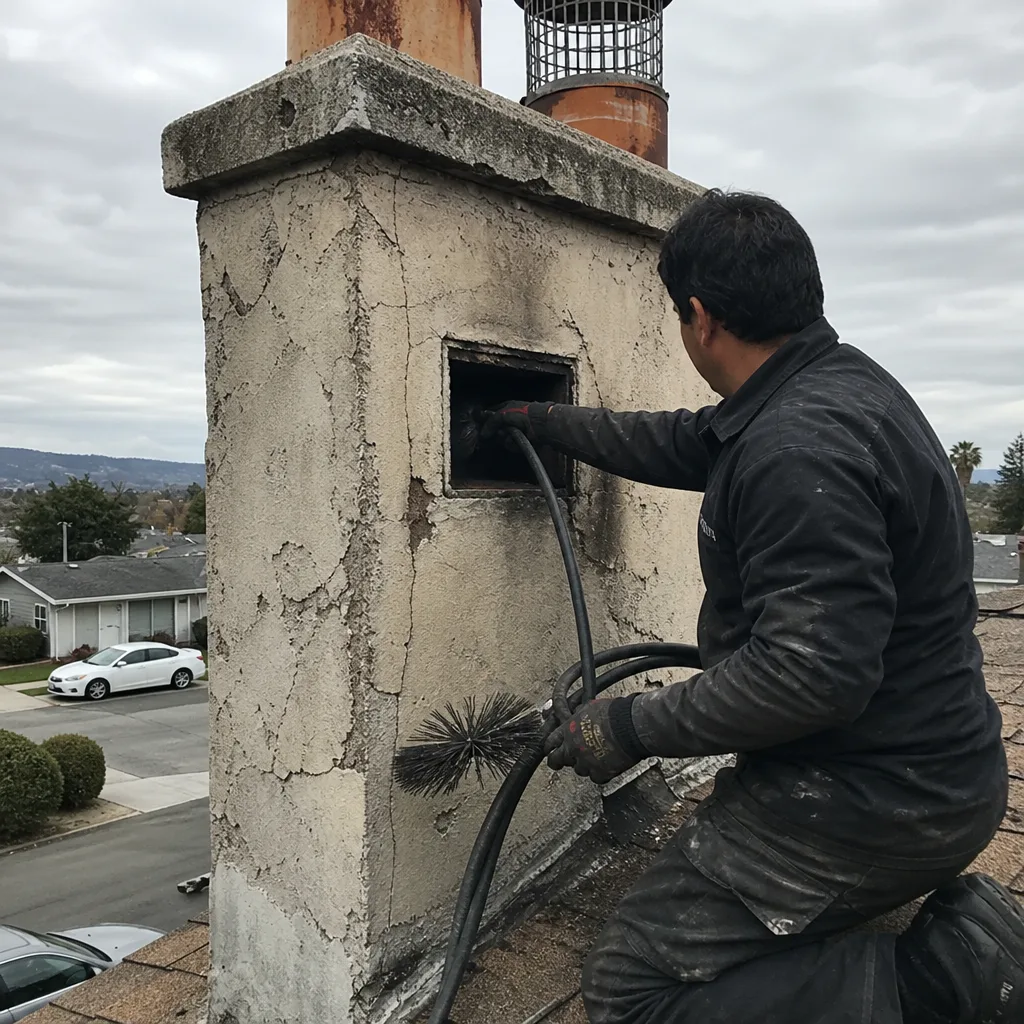
- Full flue sweep using brushes sized to your flue’s exact dimensions. A one-size-fits-all brush leaves creosote in the corners, and in a rectangular flue liner, those corners matter.
- Smoke chamber cleaning. Many sweeps skip this because it requires a different access pattern, but creosote buildup in the smoke chamber is common in San Jose homes with older masonry chimneys. If the smoke chamber isn’t clean, the flue above it doesn’t stay clean for long.
- Camera inspection. After the sweep, a camera should go up the flue to inspect for cracks, gaps between liner sections, and hidden buildup. This is where we find the problems you can’t see from the firebox: a hairline crack in the flue liner, a separated joint behind the damper, or a spot where the original clay liner has spalled and is now allowing heat and gases to reach the chimney walls.
- Damper operation and seating check. The sweep should confirm that the damper opens fully, closes fully, and doesn’t have warping. A damper that’s warped by 1/4 inch creates a constant draft leak.
- Cap and spark arrestor inspection. From the roofline, the technician should inspect the cap for mesh integrity and make sure it’s properly attached. This is also the moment to confirm whether the cap is rated for your fuel type.
If the camera inspection turns up liner damage, you need to know your options. Many San Jose chimney owners are told they need a full tear-out and rebuild when a liner issue is found, and that’s an expensive, disruptive job. But in many cases, a resurfacing system like HeatShield can restore the liner’s integrity without demolition. The Chimney Repair in Blossom Valley team carries this capability, which means we can often offer a repair option that doesn’t involve tearing out the existing chimney. That’s worth knowing before you get an expensive quote from a masonry contractor who doesn’t specialize in liner restoration.
The Dryer Vent Step Every Checklist Omits
Here’s the reality: according to the U.S. Fire Administration, clothes dryers start around 2,900 house fires every year, and the leading cause is lint buildup in the vent. A fireplace that’s used a few hours a week during San Jose’s cool months is a known, managed risk. A dryer vent that’s never been inspected is an unmanaged one.
San Jose homes with laundry areas in the garage or on interior walls often have much longer dryer vent runs than the 25-foot maximum that most dryer manufacturers recommend. Every 90-degree elbow in the run adds resistance equivalent to several feet of straight duct. In a home where the dryer sits at the interior wall of a two-story house, the vent run might be 30 or 40 feet before factoring in elbows. That’s a system that simply doesn’t exhaust properly, even when it looks like it’s working.
Here’s what to check, and what to have checked:
- Find where your dryer vent terminates outside. In most San Jose homes, you’ll find the vent cap on the exterior wall, often in a side yard or behind a garage. If you can’t find the vent termination, that’s a finding by itself – it may be terminated in a crawlspace or attic, which is a serious code violation and fire hazard.
- Check exhaust flow at the cap. Run the dryer on air-fluff (no heat) and go outside to the termination point. The exhaust should be moving strongly enough to move a piece of tissue paper held at the cap. Weak flow suggests a clog somewhere in the run. No flow at all means the vent is blocked.
- Look at the duct material. The vent pipe should be rigid metal, not the white corrugated plastic or foil-laminate flexible duct that was common in older San Jose homes. Flexible duct sags, traps lint, and can’t be cleaned properly by a rotary brush. If your home has flexible duct, replacing it with rigid metal is one of the most impactful safety upgrades you can make, and it’s work that a professional dryer vent cleaner should handle.
- Measure the run if you can. From the dryer to the termination point, estimate the straight-line distance and count the elbows. If you’re over 25 feet or have more than two elbows, your dryer is working harder than it should be, and lint accumulation accelerates.
- Have the vent cleaned professionally every 12 to 18 months. In a San Jose home with a long vent run, annual cleaning is appropriate. In homes with short runs discharging directly through an exterior wall, every 18 to 24 months is usually enough. If anyone in the household dries multiple loads daily, clean every year regardless of run length.
Our team handles Dryer Vent Cleaning in Blossom Valley as part of the same service visit when we’re doing chimney work, because the two systems share a common failure mode: lint and creosote are both fine-particulate combustion risks that accumulate invisibly until they don’t. We install Famco venting products for replacement runs because they’re built for this specific application, not improvised from whatever duct material is available at the home center.
Documenting Your Baseline: Tracking Deterioration Year Over Year
The single biggest mistake homeowners make with chimney maintenance is treating each inspection as an isolated event. They get a report, the chimney gets swept, and the report goes into a drawer. A year later, they have no idea whether the small crack the technician flagged last year is the same size, bigger, or worse. In concrete terms: a 1/4-inch crack in a flue liner that stays 1/4 inch for three years is very different from a 1/4-inch crack that grows to 1/2 inch in one season. The first is probably stable. The second is active deterioration that needs repair.
Here’s how to track it properly:
- Take photos before and after each sweep. Stand in the same position in front of the firebox and photograph the firebrick, the damper, and as much of the flue as your camera can reach. Your phone works fine for this. The goal is a consistent visual record, not a perfect photo.
- Save the camera inspection footage. Your chimney professional should provide still images from the camera inspection. If they don’t offer them, ask. A reputable sweep will have no problem giving you the photos, and those photos become your best comparative evidence next year.
- Keep a simple sweep log. One page per year is enough: date of sweep, technician, type of sweep (standard brush, rotary, chemical treatment), amount of creosote removed (usually described by the sweep as light, moderate, or heavy), and any issues flagged. Five years of this log tells a complete story.
- Document any repairs or changes. If you replace a cap, repair a crown, or have the flashing redone, note it in the log with the date and what was done. These repairs reset the clock on related components, and your maintenance schedule should reflect that.
- Review the previous year’s log before your annual sweep. Bring it to the conversation. If last year’s sweep noted “light creosote, no issues” and this year the firebox is showing stage-2 buildup, something changed and it’s worth figuring out what. Maybe you burned different wood. Maybe the draft changed. Maybe the cap mesh is partially clogged. Having the log makes that comparison possible.
In our experience, the homeowners who do this are the ones who avoid the surprise four-figure repair bills. They see trends developing over two or three seasons and address small problems at the small-problem stage, before they become emergency-level replacements.
Scheduling Around San Jose’s Burn Window
San Jose’s actual fireplace season runs roughly from late October through March, with real variability. Some years, Thanksgiving is warm and nobody lights a fire until December. Other years, we get a cold snap in early November and everyone lights up the same weekend. Unlike colder regions, San Jose doesn’t have a six-month continuous burn season that forces constant creosote management. The danger here is the opposite: the long stretches of disuse between seasons create conditions where problems develop silently.
Here’s a sensible annual schedule for a San Jose homeowner:
- June-July: Start watching for signs of animal activity. Squirrels are most active in late spring and early summer, and they’ll test chimney caps for entry. If your cap is missing or has damaged mesh, this is when it matters.
- August: Do your firewood check. If you’re burning wood, confirm that next season’s wood has been seasoning for at least six months in San Jose’s dry heat, and ideally 12 months. Wood bought in August and burned in December is not ready to burn, and unseasoned wood is the primary driver of creosote buildup in Bay Area fireplaces.
- October 1-15: Do the pre-season inspection I described in Tier 2. Schedule your professional sweep if you haven’t already.
- October 15-31: Have the professional sweep and camera inspection done. Book this in advance – every chimney company in San Jose is booked solid from November through January, and waiting until you want the first fire of the season means waiting weeks.
- November-March: Burn normally. Do your monthly Tier 1 checks. Record anything unusual.
- April-May: Post-season. Do a final firebox check, note creosote level, and close the damper tightly. If you noticed weak draft or other issues during the season, call now for an inspection rather than waiting until fall. You’ll get faster scheduling and better diagnosis during the off-season.
- Year-round: Dryer vent cleaning on its own interval, which doesn’t follow the burn season. Dryer vents should be cleaned based on usage, not calendar, and most San Jose homes need it every 12 to 18 months.
One scheduling note: if your chimney has been swept and inspected this year, and you’re not burning after March, don’t feel like you need to re-inspect in the summer. The next pre-season checkup in October is sufficient. What you should not do is skip the annual inspection entirely because you “barely used” the fireplace. Most of the deterioration that affects chimneys in our area happens during disuse, not during use.
Common Mistakes to Avoid
- Burning unseasoned wood from tree trimmings. San Jose homeowners with mature trees often have wood from a removed tree, and they burn it before it’s ready. Wood needs 12+ months in most cases. Burning green wood is the single biggest driver of rapid creosote accumulation in local fireplaces.
- Skipping the dryer vent because “the dryer works fine.” A dryer can run with a 70% blocked vent for months. You won’t notice until the drying time gets longer, and by then the system is already well into dangerous territory. The vent needs regular cleaning regardless of whether the dryer appears to be working.
- Using flexible foil or vinyl duct for dryer vents. This is common in older San Jose homes. Flexible duct sags and traps lint. It is not cleanable with rotary brushes. It should be replaced with rigid metal, and this is not a DIY-optional project.
- Assuming a gas fireplace needs no maintenance. Gas fireplaces still have venting, still accumulate deposits in the vent pipe, and still need annual inspection. The vent termination can clog with debris, and gas logs can produce incomplete combustion that leaves soot in the vent. “Gas means no maintenance” is false.
- Ignoring water stains on the ceiling near the fireplace. Water intrusion through flashing or a cracked crown shows up first as a ceiling stain, often in a different room from the fireplace. If you have water staining that appears seasonally, the chimney is the first thing to inspect, not the roof.
- Having a masonry contractor without chimney experience do chimney repairs. General masonry work and chimney work are different trades. A chimney is a contained combustion system, not just brick and mortar. The materials that make a chimney safe – proper liner systems, proper caps, proper flashing details – are specialized.
- Waiting until November to book a sweep. Every chimney company in the San Jose area is fully booked from November through January. If you want a pre-season inspection and sweep, book it in September. Emergency calls in December get triaged, and non-emergency cleanings get pushed weeks out.
When to Call a Professional
Some chimney issues are safe to monitor, and some require immediate professional attention. Call a chimney specialist if you see any of the following: smoke entering the room during normal operation, which indicates a serious draft or blockage problem; visible cracks or deterioration in the firebox itself; water staining on the ceiling or walls near the fireplace; evidence of animal activity (nesting, droppings, noise in the flue); or any creosote buildup that’s beyond a light, sooty film. A professional has the equipment and training to diagnose these issues correctly. Chimney Sweep Blossom Valley offers free estimates in San Jose – call (833) 593-5179 to schedule an inspection.
Frequently Asked Questions
Once per year, regardless of how often you burn, is the right interval for most San Jose homes. The dry season causes creosote to harden and animals to seek entry, and an annual sweep catches these issues before they compound. If you burn weekly or more through the winter, you may need a second sweep mid-season, but for most Bay Area fireplace owners, one annual professional cleaning in October is sufficient.
Professional chimney sweeping in San Jose typically falls in the $200 to $400 range for a standard cleaning with inspection, depending on the flue size, the amount of creosote buildup, and whether additional access is needed. Camera inspection may be priced separately or included depending on the company. Lower-priced “discount” sweeps often skip the smoke chamber and camera work, which is where real problems hide.
Yes. A chimney cap is the single most cost-effective chimney protection you can buy. It keeps rain out, which prevents water damage to the liner and firebrick; it keeps animals out, which prevents dangerous blockages; and it contains sparks, which prevents roof-related ember risks. If your chimney has no cap, adding one is a higher priority than the sweep itself.
Water staining near a fireplace almost always means water is entering through the chimney system somewhere: the cap, the crown, the flashing, or the masonry itself. Do not paint over it or ignore it. Have the chimney inspected by a specialist who can identify the entry point with a camera and recommend the right repair, which may be as simple as a Gelco cap replacement or as involved as crown rebuilding.
You can physically push a brush through a chimney, but what you’re not seeing matters more than what you’re cleaning. A DIY sweep removes loose creosote from the flue walls but leaves the smoke chamber untouched, misses hidden cracks and separation, and gives you no camera inspection of the liner condition. The reason to hire a professional isn’t just the cleaning – it’s the diagnosis you can’t perform on your own.
Only a camera inspection can reliably tell you. Signs that suggest liner deterioration include visible chunks of clay tile in the firebox, unexplained mortar or brick dust accumulating below the damper, and smoke odors in the house when the fireplace isn’t in use. If the camera shows cracks, gaps, or spalled sections in the liner, options range from stainless steel relining with a product like DuraFlex to HeatShield resurfacing, which restores the existing liner without demolition. Chimney Sweep Blossom Valley can walk you through the options based on what the camera actually shows.
The Bottom Line
Chimney maintenance in San Jose is not about cleaning soot out of a pipe once a year. It’s about managing a combustion system through a climate that alternates between short, intense burn seasons and long, dry periods of disuse, in homes that range from mid-century Eichlers to modern tract construction. The checklist that actually works includes monthly visual checks, a thorough October pre-season inspection, an annual professional sweep with camera work, and a separate, often-overlooked dryer vent cleaning interval. Document everything. Compare year over year. Catch deterioration as a trend, not as an emergency. If a problem shows up, get a specialist who understands the whole system: chimney, venting, and dryer exhaust, under one roof.
Written by the team at Chimney Sweep Blossom Valley, serving San Jose since 2014.
See the difference
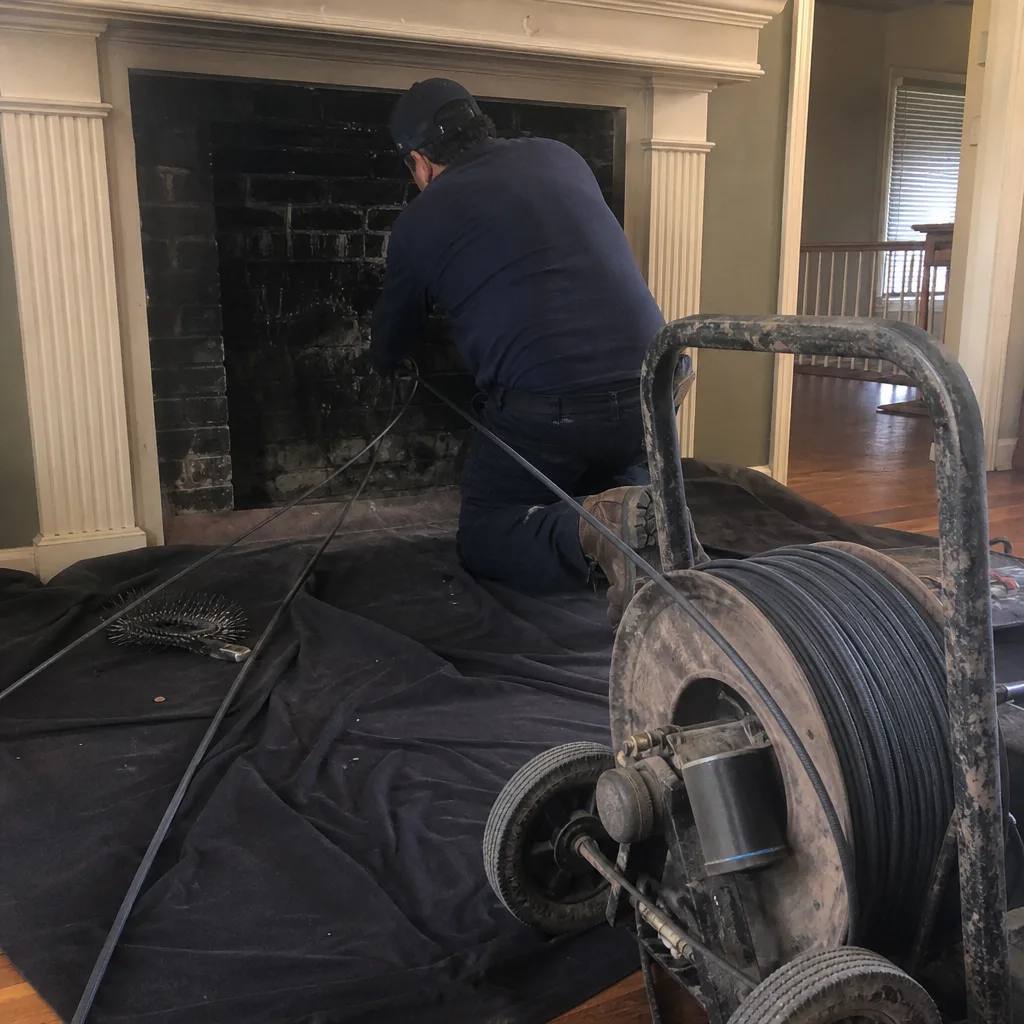 Before
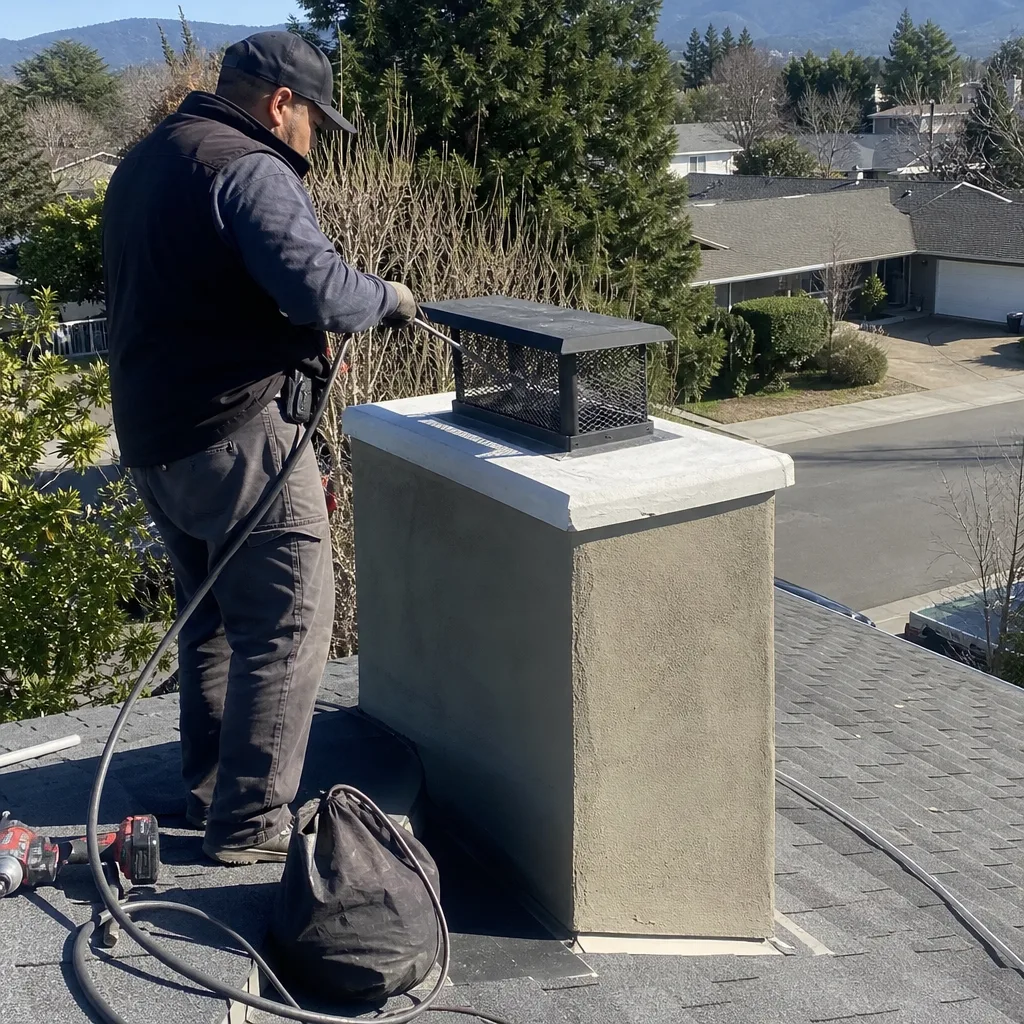 After
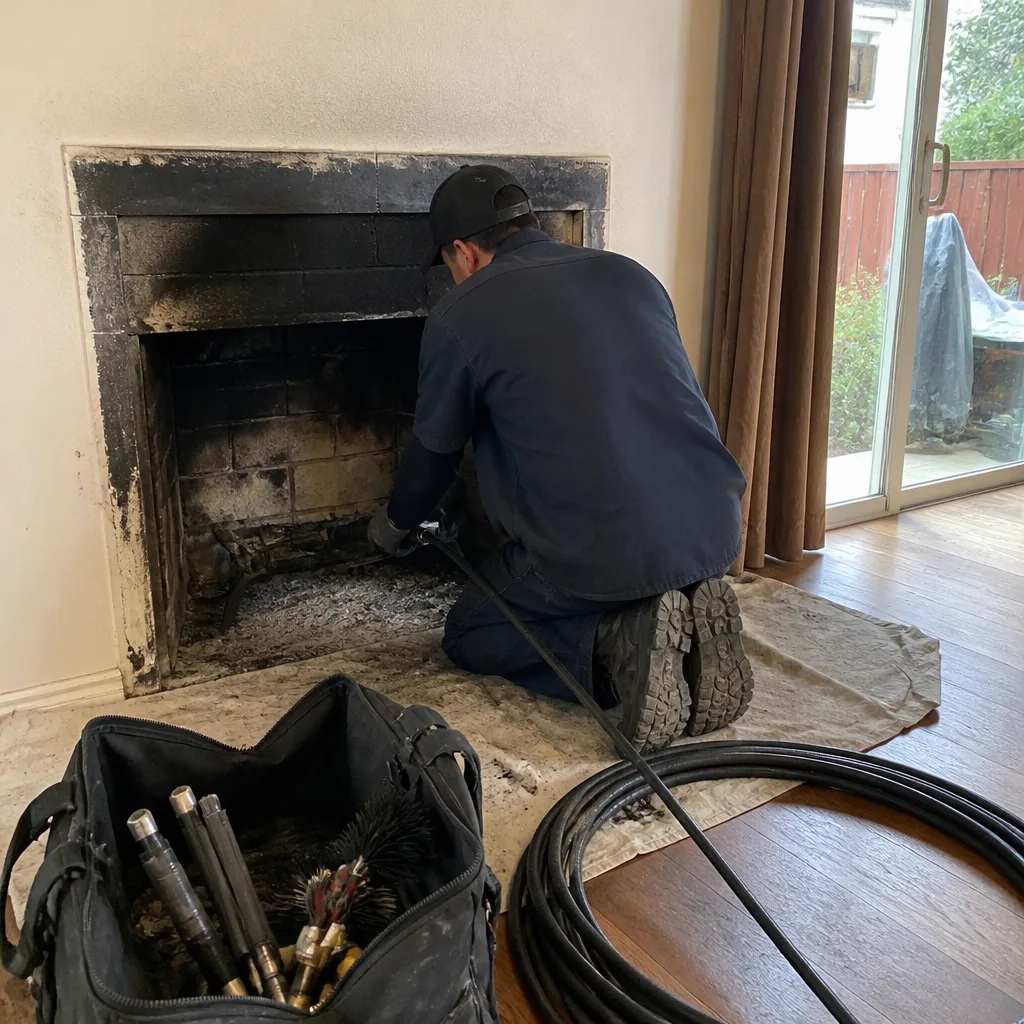 Before
 After
 Before
 After